
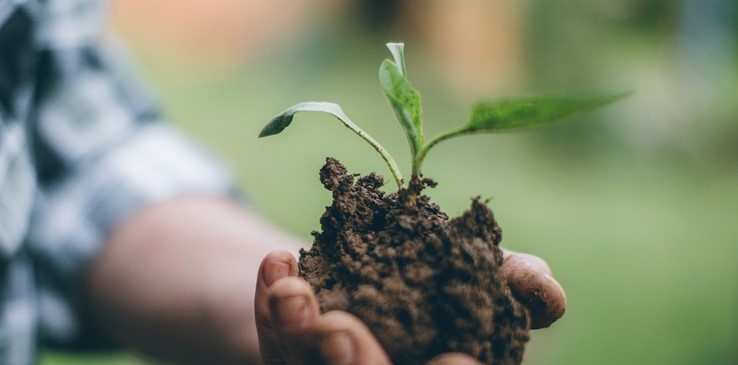
How and When to Plant Trees
![]()
Published January 1, 2018 By RICK ROSEN / DMN
Many homeowners think spring when they think about planting trees. But gardening experts consider fall the best time to add trees to the landscape. Trees planted now get a head start on establishing roots before summer returns.
Tree roots (and those of other plants) grow whenever the temperature is roughly above 40 degrees. In mild winters, roots gain the strength they need to deal with summer. And, because their roots have been growing all fall and winter, trees planted now burst with growth when spring arrives. Homeowners may worry that a hard freeze or extended subfreezing weather will kill or damage trees planted in fall. It is a good idea to protect above-ground portions of recently planted trees and shrubs. Because the ground doesn’t freeze in our area, the roots should be fine. You can plant trees that are sold in pots or balled-and-burlapped specimens (a tree grown in the ground is dug up and its rootball wrapped in burlap) in fall. However, experts say to wait until winter to plant bare-root trees, including fruit and pecan trees. They should be dormant for the best results.
To transplant, Certified Arborist Steve Houser digs a hole twice the width of the rootball. If you’re shopping for a tree with great fall color, you can ask the nursery to show you you exactly what color(s) you’ll get.
Once you’ve chosen a tree, what is the best way to plant it?
PROPER PLANTING
- Dig a hole twice as wide as the rootball. More important: Make sure the hole is no deeper than the top of the rootball. Planting the tree one to three inches above the level of the surrounding ground is best, since the tree may settle.
- Place the tree on solid soil. Don’t loosen the soil under the rootball, and don’t add compost, bark or any other amendment. Lift and carry the tree by the rootball, not the trunk.
- Backfill only with the soil you excavated for the hole.
- Tamp down the soil around the rootball.
- Water thoroughly to eliminate air pockets.
- Use soil to build a four-inch-tall berm around the edge of the hole. Add a four to six-inch layer of mulch inside the ring, but never cover the root flare.
- Remove twine binding burlap around the rootball.
POST-PLANTING TIPS
The extension service recommends the following:
- Don’t fertilize the tree after you plant it. Spring is the time for fertilizing, and even then go light on fertilizer because fertilizer can burn a newly planted tree's roots.
- Staking the tree is considered a last resort. Some experts believe staking weakens a tree’s ability to thrive on its own once the stakes are removed and also can damage the bark, making it easier for pests to infiltrate. However, if the trunk is too weak to support itself, use two stakes, on opposite sides of the tree, and remove them after one year. Source: Texas Cooperative Extension keeps roots cool in summer.
- Maintain a two to four-inch layer of mulch.
- Never cover a tree’s root flare, the juncture where the vertical trunk fans out, with soil or mulch.
- If a tree is rootbound remove it from its plastic pot, try to loosen the roots from their circular grip, even severing some, best done by an arborist, to encourage lateral growth.
TREE-PLANTING GUIDE
Get a free tree planting guide from the City of Dallas Urban Forest Advisory Committee at one of these four Dallas locations:
- Beckley-Saner at 114 W. Hobson
- Reverchon Park at 3505 Maple
- Campbell Green at 16600 Park Hill Drive
- Kidd Springs at 711 W. Canty
The first copy, or as many as ten for homeowners or community groups, is free. The committee requests a one-dollar donation for additional copies. Download the guide at http://www.dallastrees.org.
Get your copy in the Park Department, 6th floor at City Hall, 1500 Marilla Street; at the Dallas County Texas Cooperative Extension office, 10056 Marsh Lane Suite B-101; and four recreation centers: lightly watering the tree every day for a week. The second week, water every other day. The third week, water every third day. The fourth week, water once a week, if needed. (Check the soil with a finger to see if it needs watering.)